Using a drywall automatic taper, also known as a drywall bazooka, can significantly speed up the process of applying joint compound (also known as mud) and tape to drywall joints.
Here’s a step-by-step guide on how to use a drywall automatic taper:
Gather the necessary tools and materials: You’ll need joint compound, mud pump, drywall tape, a taping knife, a bucket of water, and a clean bucket to mix and store the joint compound.
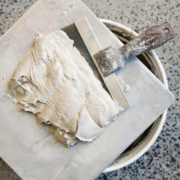
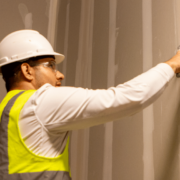
Prepare the wall: Before using the automatic taper, ensure that the joints are clean, free from debris, and screws are properly recessed. Apply a thin layer of joint compound over the joint using a taping knife to prefill the joint then remove the excess, so the surface is flat.
Preparing the joint compound (mud): Open joint compound, if it is in a box empty the box into a clean bucket. Taping mud should be fairly thin, ideally about the consistency of cake batter. For more on mud mixing see our post “Mud Mixing for Different Applications”.
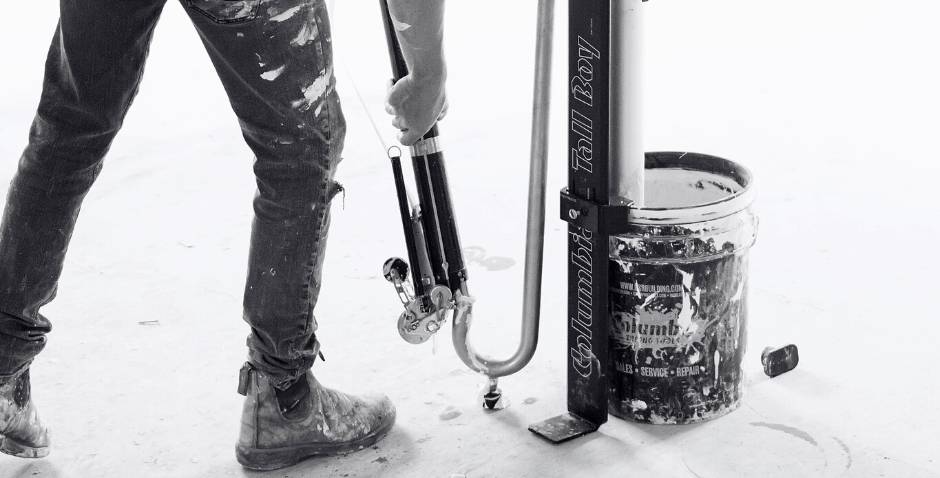
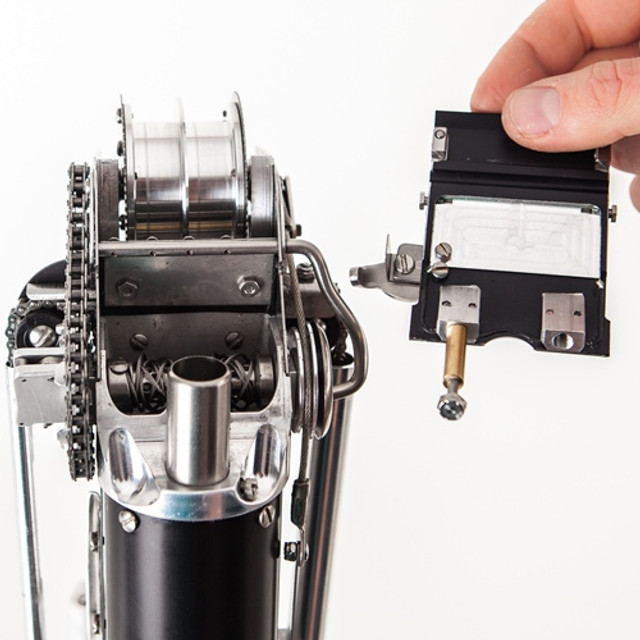
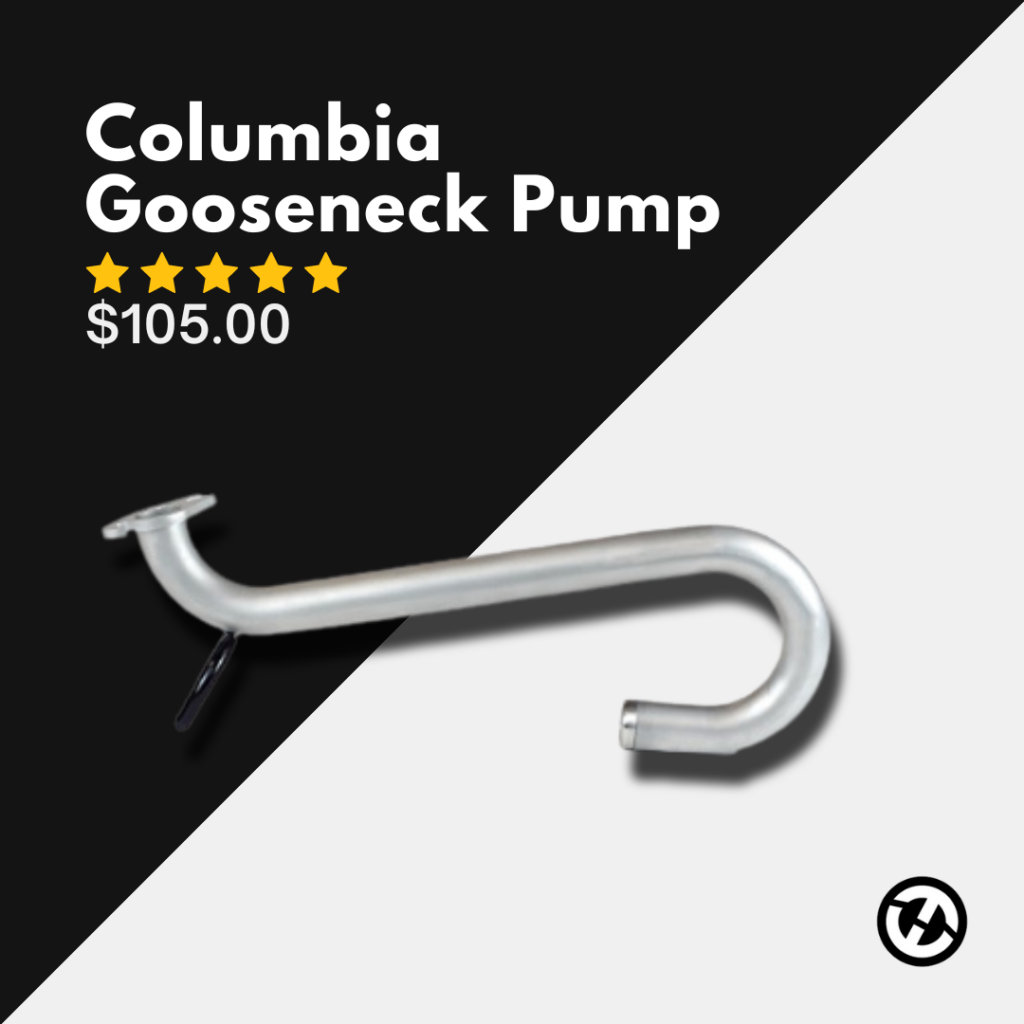
Load the automatic taper: Once your mud is thinned down place the pump in the bucket. Using the gooseneck attachment fill the taper by pumping the handle with an adequate amount of mud, but avoid overfilling, as it may cause difficulties in operation.
Attach the drywall tape: Take a roll of drywall tape and feed it into the automatic taper. Make sure the tape is properly aligned with the roller mechanism inside the taper.
Start taping: Hold the automatic taper with two hands. One hand at the tape cutter grip and the other on the rear controls. Place the taper head at the beginning of the joint. Apply slight pressure to the handle, and as you move the taper along the seam, the joint compound will be dispensed and the tape will be embedded in it. As you get within about 1.5” – 2” of the end of a joint use the cutter to cut the tape and then continue to roll the tape out to the end of the joint. This will take practice to know just where to make your cut.
Continue taping: Keep a steady and consistent pace as you move the automatic taper along the entire length of the seam. The tape should be embedded firmly into the joint compound, creating a strong bond.
Refill the taper as needed: When the taper starts to run low on mud you risk having air pockets or insufficient mud to create a strong bond. Stop and refill it with more compound regularly. Follow the manufacturer’s instructions for reloading the automatic taper.
Smooth the joints: Once you have finished applying tape to the seams using the automatic taper, use a taping knife to smooth out any excess joint compound and ensure a flat finish. Feather the edges of the joint compound to blend it seamlessly with the surrounding drywall.
Clean up: After completing the taping process, clean the automatic taper and other tools with water to prevent the joint compound from drying and clogging the mechanisms.
Remember to refer to the specific instructions provided by the manufacturer of your drywall automatic taper, as different models may have slight variations in operation and maintenance.