Drywall mud, also known as joint compound, is a crucial component to finishing walls and ceilings in construction projects. To achieve the desired consistency and strength, it’s important to mix drywall mud correctly for various applications. In this article, we’ll guide you through the process of mixing mud for different applications such as taping, skimming, and texturing, so that you can achieve professional results every time. Whether you are a seasoned contractor or a DIY enthusiast, this guide will provide you with the essential information and tips you need to mix drywall mud with confidence.
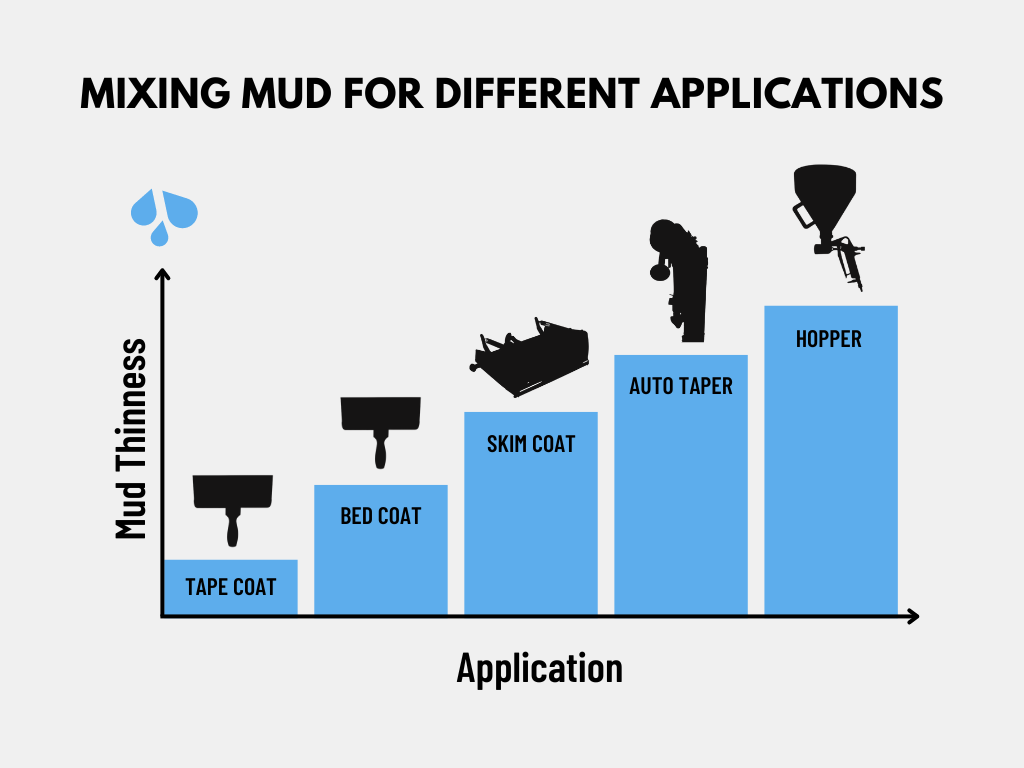
Going from Thickest to Thinnest Mud Consistency:
Before we get started, we should mention that not all joint compound is formulated the same which means you should always follow the manufacturing guidelines of the specific product you use. We would also like to mention that mud consistency can also be a personal preference, so let this guide be a starting point on how to mix mud for different applications in the drywall process.
Ready to dive in? Let’s go!
TAPING BY HAND
The first application on our list is taping by hand which also requires the thickest mud consistency. When working with hand tools such as a hawk and trowel or pan and knife, you want your mud to stick to your tool as much as possible. This prevents the mud from slipping off your knife while applying it to drywall joints.
Extra mud thickness ensures an adequate layer of mud is applied behind your tape as well. If your mud is too thin, you run the risk of wiping it away from behind your tape which results in a weakened bond. To prevent this from happening, you want to strive for a mud mixture akin to quick concrete: not too shiny, high resistance when stirring, and clumpy on your knife. In other words, it should hold its shape. For this application, you want to add very little water to your joint compound.
BED COATING
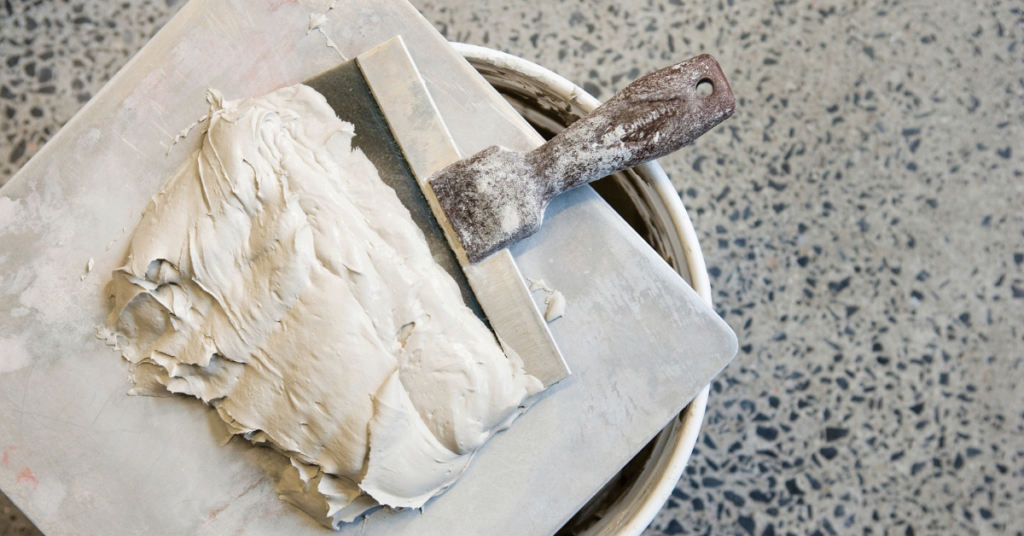
A bed coat in drywall installation refers to the layer of joint compound that is applied over paper tape on seams and joints to provide a smooth, even surface for painting or wallpapering. The bed coat is applied to securely embed the paper tape into seams and joints, creating a seamless, smooth surface. The bed coat is typically thicker than a skim coat and is spread over the tape with a trowel or knife, making sure to completely cover the tape and fill any gaps or imperfections in the drywall surface.
Your mud should still be relatively thick for this process to ensure a proper bonding between drywall, tape, and joint compound. Similar to taping by hand, your mud should be thick like frozen yogurt with high resistance when stirring. The mud should make large clumps on your knife with little to no slippage unless with force. You can see in the GIF above that the mud maintains its shape and does not come off the knife at all.
SKIM COATING
Once taping and bed coating are finished, you’re ready for skim coating. Skim coat refers to the thin layer of joint compound that is applied over taped drywall joints to create a smooth, feathered surface for painting or wallpapering. The process involves spreading the joint compound evenly over the entire surface, typically using flat boxes or smoothing blades. Skim coating is often used to repair damaged drywall, to cover up rough or uneven areas, or to create a smooth surface for textured finishes like orange peel or knockdown.
The mud used for skim coating should be lightweight and easy to spread, allowing it to be applied smoothly and evenly without creating any new bumps or ridges. Once the skim coat has dried, it can be sanded to achieve an even smoother surface, and then primed and painted or wallpapered as desired.
When preparing joint compound for skim coating, your mud consistency should be a little slippier than your mud used for bed coating. In other words, it should be slicker, more malleable, not such a tight film so that it fills drywall texture. It has been described as similar to greek yogurt.
TAPING WITH AN AUTOMATIC TAPER
Joint compound must be thinned with water so that it won’t clog your automatic taper. If your mud is too thick, it won’t flow through the taper and could cause dry patching when applying tape to drywall joints. The ideal mud consistency is like cake batter. Your joint compound should be shiny, hold its shape, and come off your knife in a sheet. In fact, most of it will run off your knife. This is how you know it has good flow and is appropriate for your automatic taper.
SPRAYING FROM HOPPER
When prepping mud for spray texturing, you need to strike a balance between flow and elasticity for best results. If your mud is too thin, you run the risk of leaving water rings on the drywall. Often, the mud will hit the wall and flatten out if it doesn’t have enough elasticity. However, if your mud is too thick it could clog your hopper and create an undesired effect on the drywall. Shoot for melted ice cream as the ideal mud consistency for this step. The hopper is gravity fed. Any thicker and it won’t feed the gun where it mixes with air. Your mud must have a pour-like quality otherwise it will stay suspended in the hopper. Keep in mind that as the mud continues to agitate in the hopper, it will thicken over time.
Conclusion
In conclusion, knowing how to mix drywall mud correctly is essential for achieving professional results in your construction or renovation projects. By following the steps and tips outlined in this blog post, you can confidently mix drywall mud for various applications, such as taping, topping, and texturing, to create a smooth, durable, and flawless finish on your walls and ceilings. Whether you are an experienced contractor or a DIY enthusiast, the knowledge and skills you have gained from this blog post will help you to complete your drywall projects with ease and success. So, grab your mixing tools and start mixing your drywall mud with confidence!